
Installing ceramic wall tile is a project that can dramatically transform any room in your home. However, achieving a professional and smooth finish can be challenging, especially when dealing with uneven surfaces. This is where a tile leveling system comes into play, ensuring your tile installation is flawless and free from lippage. In this guide, we’ll walk you through the steps of laying wall tiles using wedges, clips, and pliers – great tools that make the process easier and more efficient.
Understanding Tile Leveling Systems
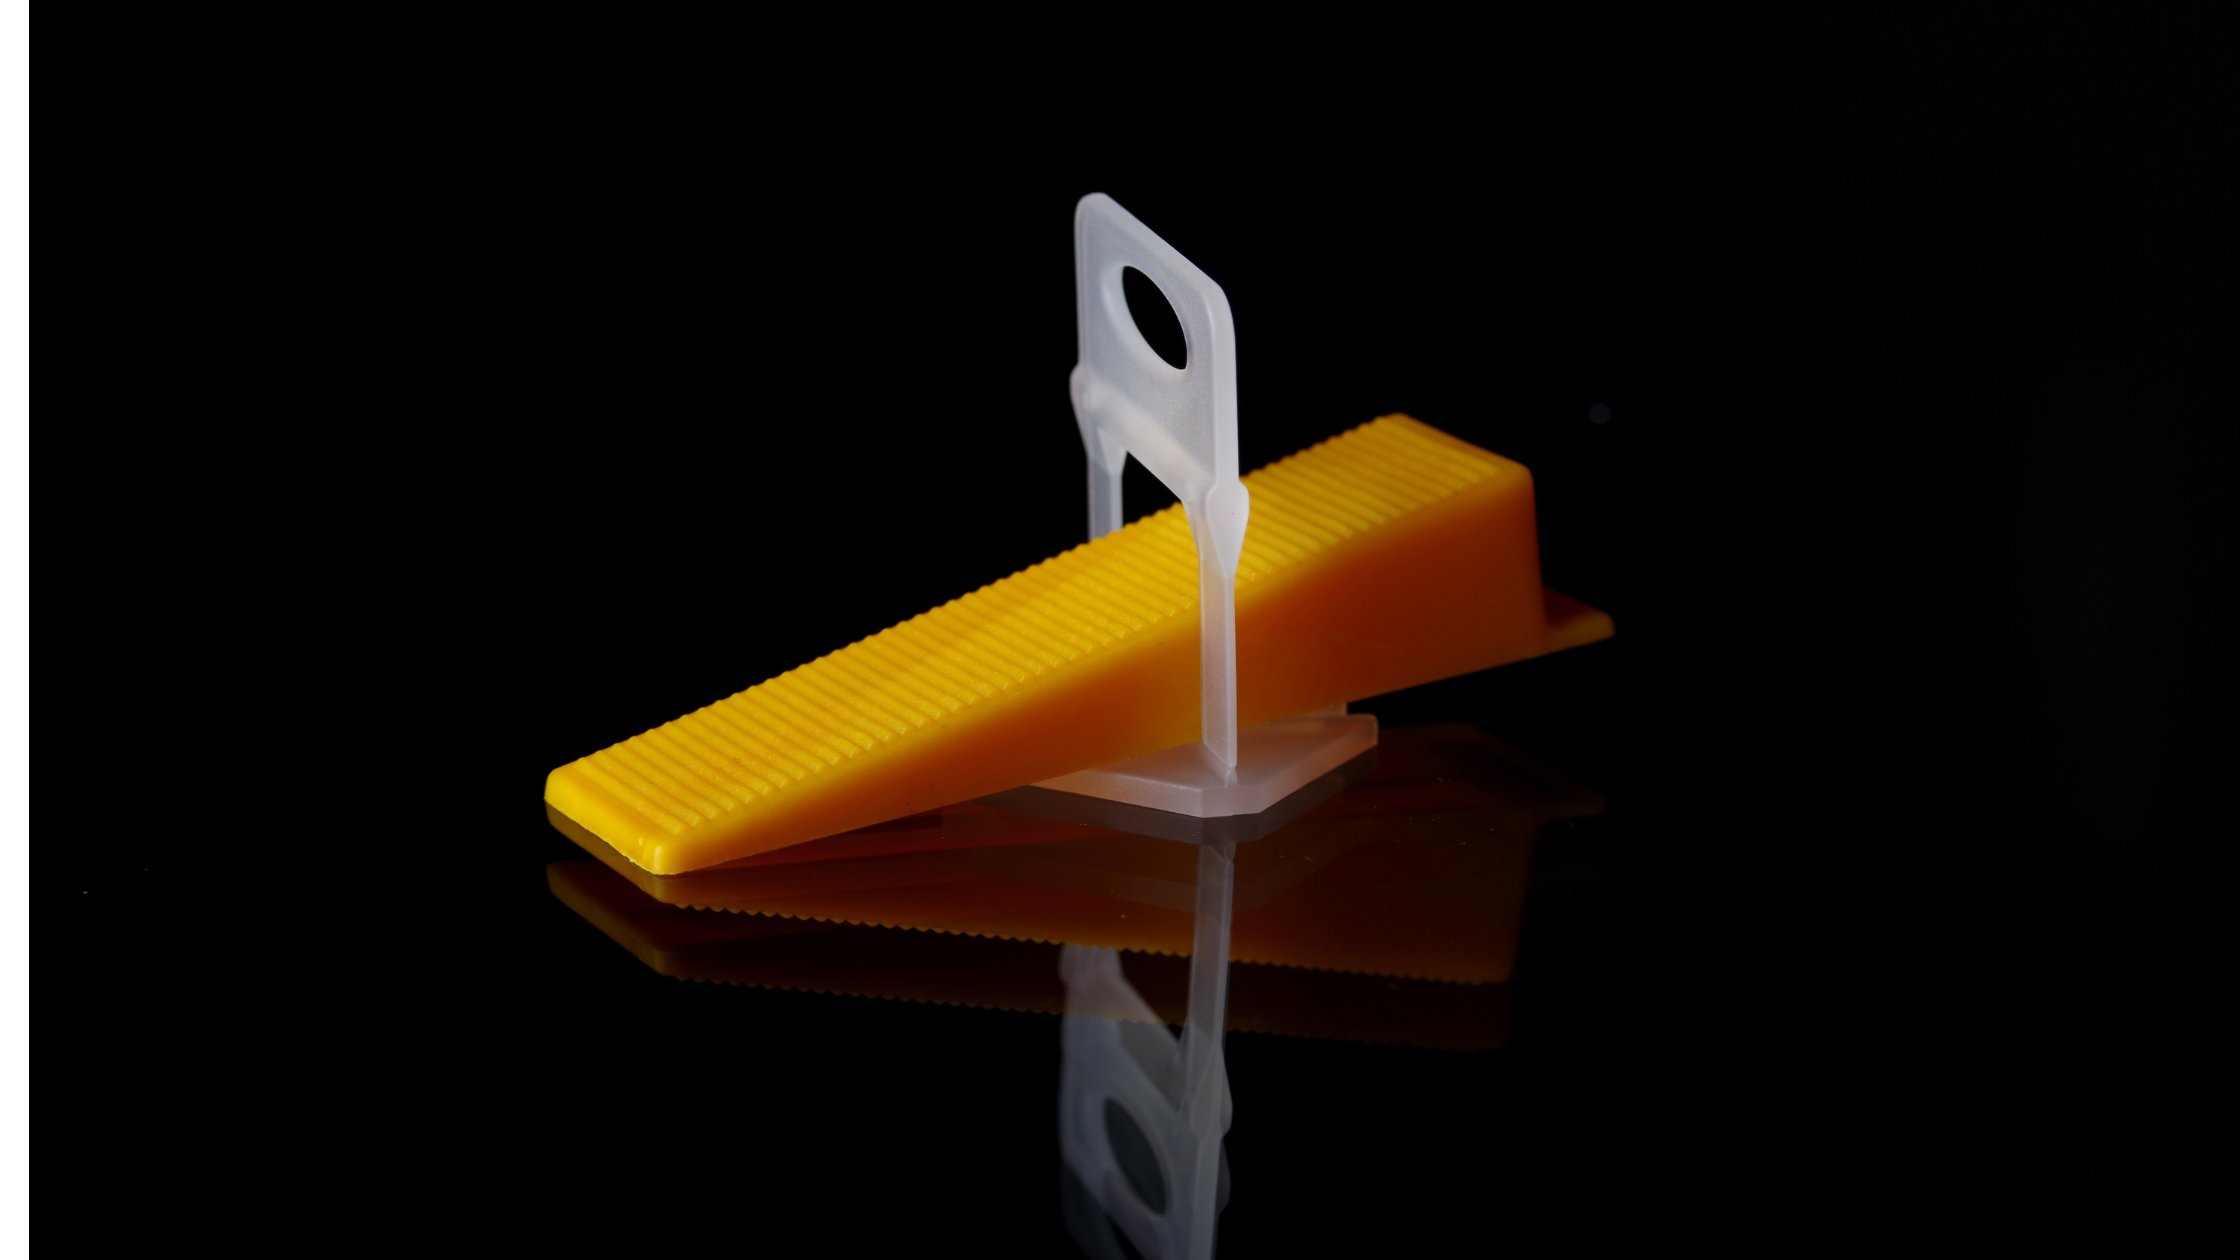
A tile leveling system is an innovative set of tools designed to prevent lippage during tile installation. Lippage refers to variations in height between edges of adjacent tiles, which can lead to an uneven surface. The system typically includes three main components: clips, wedges, and pliers. These elements work together to hold the tiles at an even height until the adhesive sets, ensuring a perfectly flat surface.

The Role of Each Component
- Clips: These are inserted beneath the tiles’ edges as they are laid, ensuring each tile is level with its neighbors.
- Wedges: Slid into the clips, wedges apply even pressure across the tile’s surface, maintaining its level position.
- Pliers: Used to tighten the wedge into the clip, providing the necessary tension to keep tiles level and secure.
Step-by-Step Guide to Installing Ceramic Wall Tiles
1. Prepare Your Surface
Before laying tiles, ensure the wall is clean, dry, and smooth. Remove any wallpaper, loose paint, or debris. For uneven walls, consider applying a skim coat of plaster to level the surface.
2. Plan Your Layout
Measure your wall and plan your tile layout. It’s crucial to determine where you’ll start and how you’ll distribute cut tiles evenly across the wall. Use a chalk line or laser level to mark your starting point.
3. Mix and Apply Adhesive
Mix your tile adhesive according to the manufacturer’s instructions. Using a notched trowel, apply adhesive to a small section of the wall. It’s best to work in sections to prevent the adhesive from drying out.
4. Start Laying Tiles
Place your first tile onto the adhesive, gently pressing it into place. Insert clips under the edges of the tile, leaving enough space for the wedges.
5. Insert Wedges
Slide wedges into the clips, applying even pressure across the tile. This step is crucial for preventing lippage and ensuring each tile is perfectly level.
6. Tighten with Pliers
Use the pliers to tighten the wedge into the clip, securing the tile’s position. Be careful not to apply too much pressure, as this could crack the tile.
7. Continue Laying Tiles
Repeat the process, laying tiles and securing them with the leveling system. Use spacers to maintain consistent grout lines, and regularly check for levelness across the tiles.
8. Allow to Set
Once all tiles are laid, allow the adhesive to set according to the manufacturer’s instructions. This usually takes 24 to 48 hours.
9. Remove Clips and Wedges
After the adhesive has set, remove the clips and wedges. This can typically be done by kicking them out with a rubber mallet or twisting them off by hand.
10. Apply Grout
Mix and apply grout according to the manufacturer’s instructions, filling the spaces between tiles. Use a rubber float to press the grout into the joints, wiping away any excess with a damp sponge.
11. Final Cleanup
Once the grout has set, perform a final cleanup. Remove any haze left on the tiles with a soft cloth and clean water.
Installing ceramic wall tiles can be a rewarding DIY project, especially when using a tile leveling system. By following these steps and utilizing wedges, clips, and pliers, you can achieve a professional-looking finish without the frustration of uneven tiles. Remember, the key to a successful tile installation is preparation, patience, and the right tools.
For those looking to embark on their next tiling project, visit Tile Leveling System to explore our range of high-quality leveling systems. Our products are designed to make your tile installation easier, faster, and more precise. Start your project today and achieve the flawless finish you’ve always wanted.